
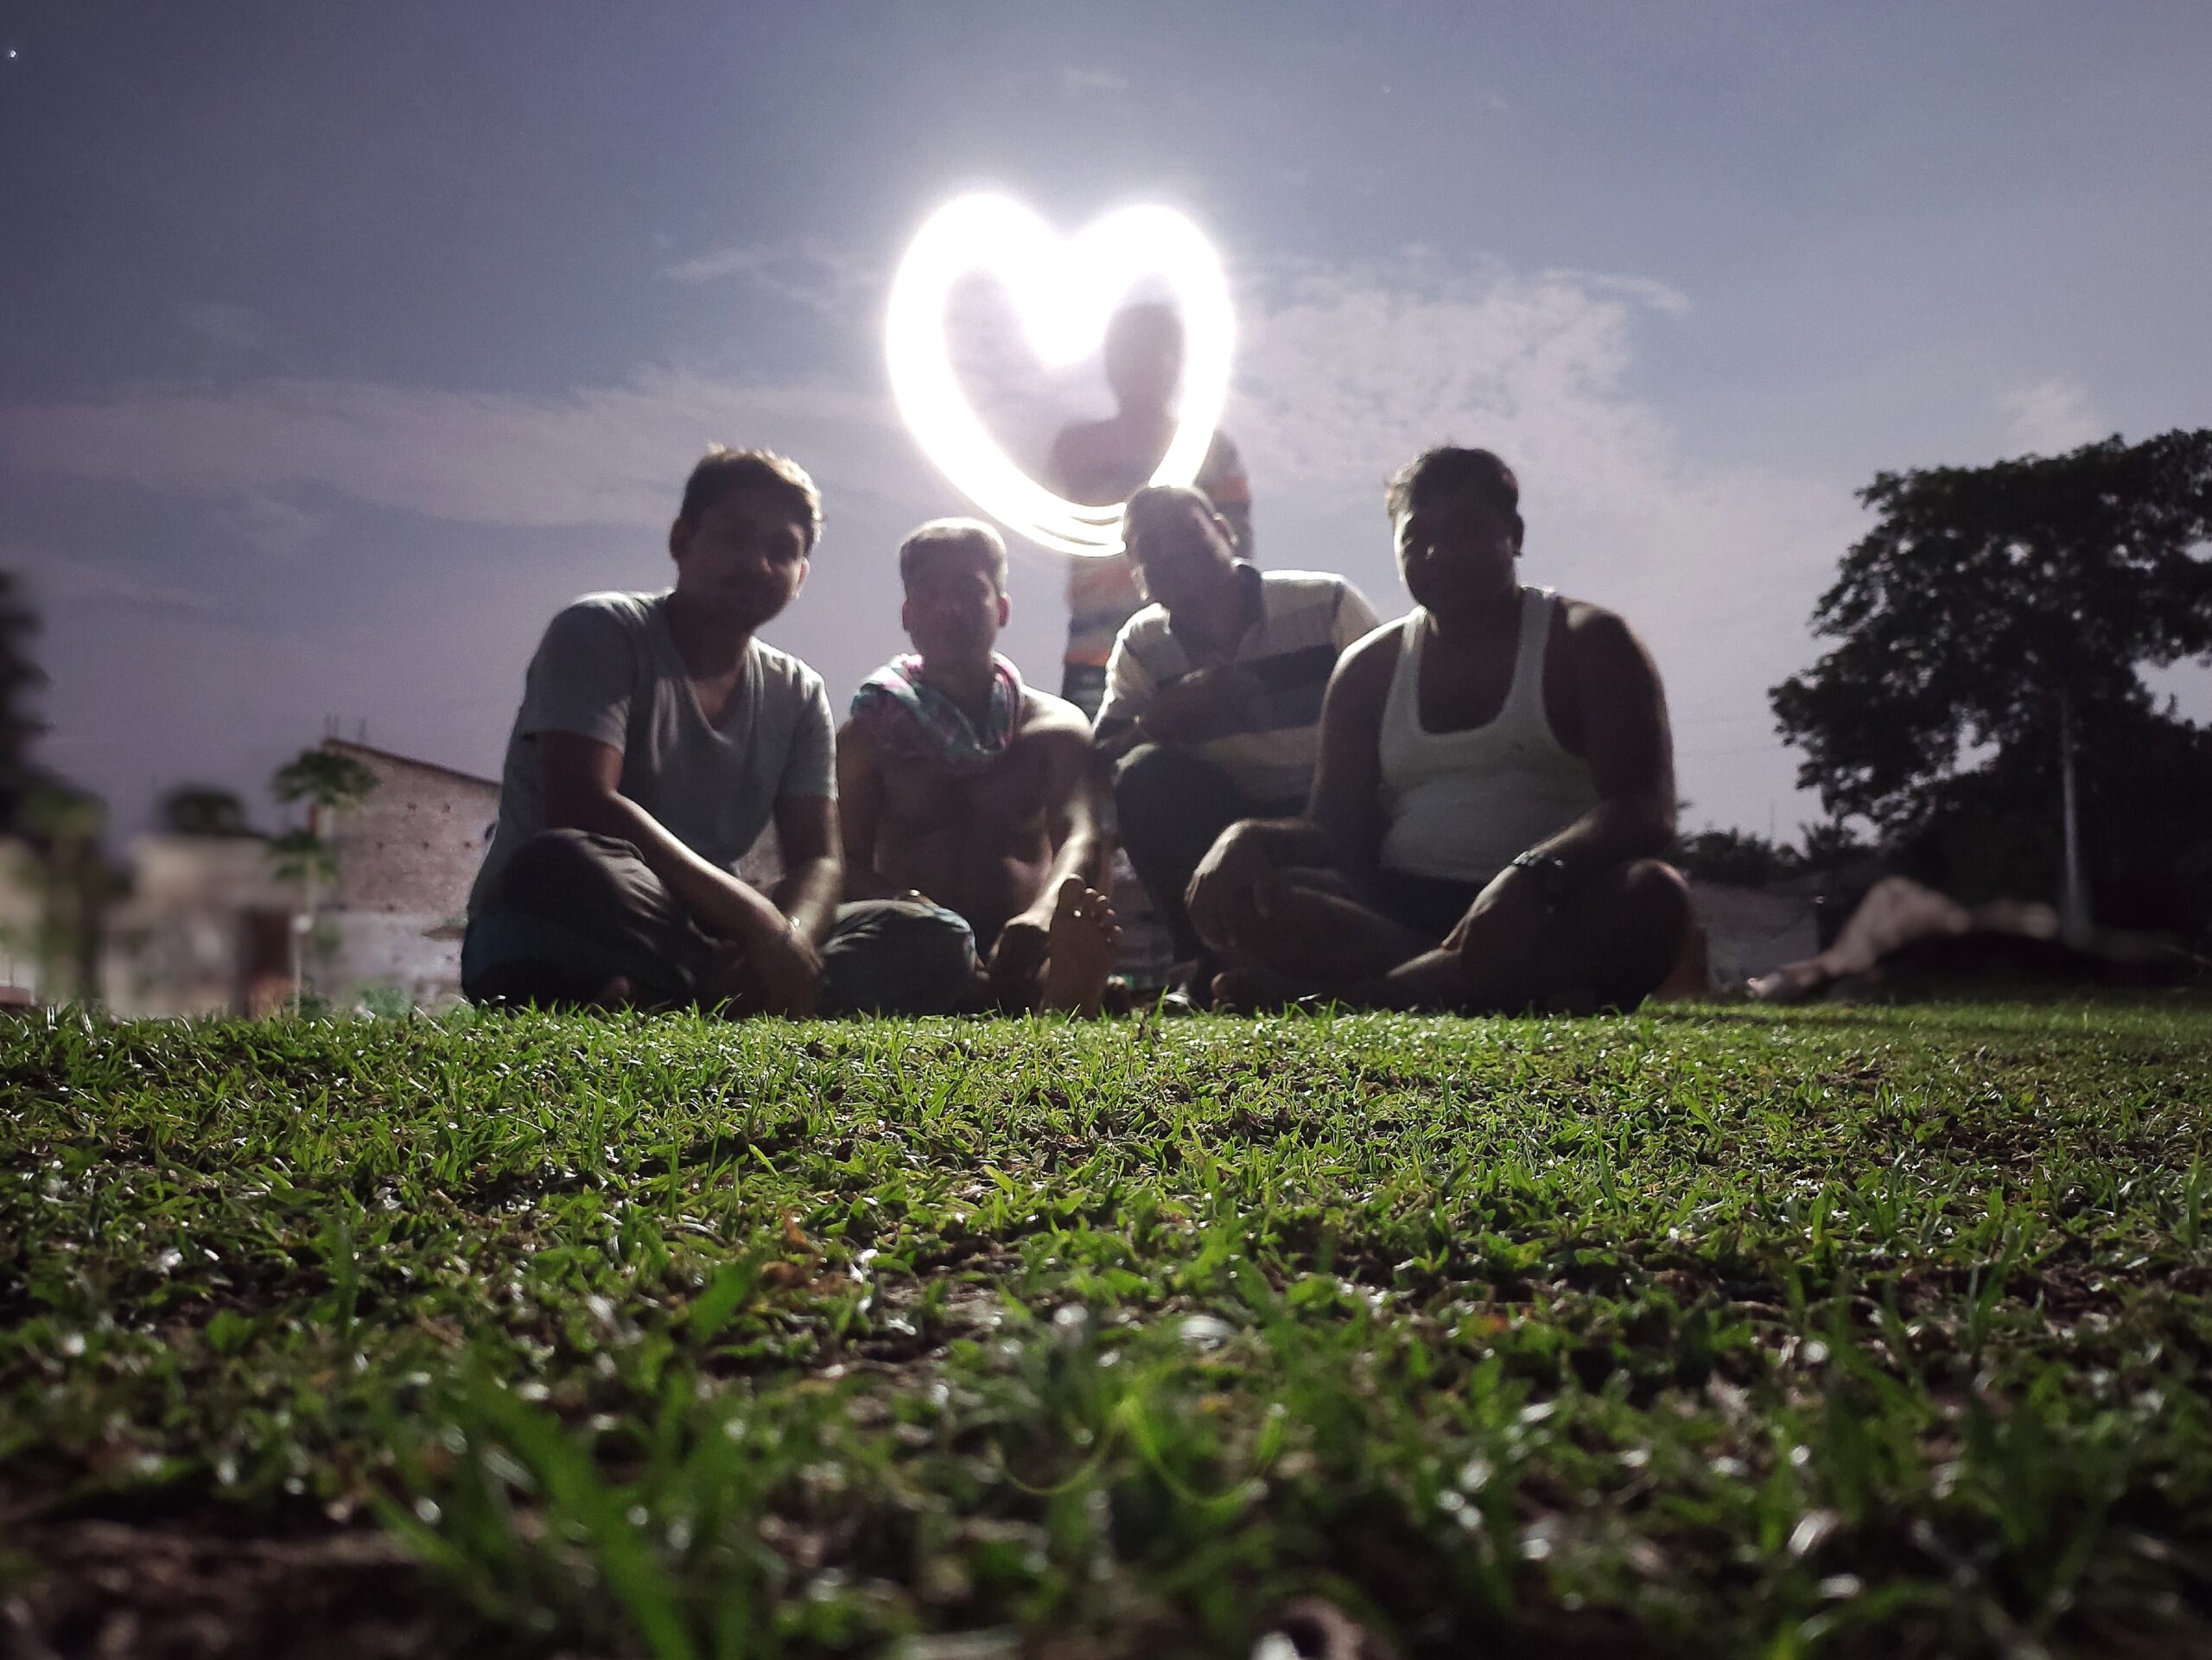
Long exposure photography means keeping the shutter open long enough for moving things to smear or vanish while fixed things stay sharp. In a small town you need a tripod, a way to fire the shutter without touching the camera, and a neutral density filter if you want the effect in daylight. The rest is choosing a scene that has both something still and something moving.
What counts as a long exposure, and how long do you need?
There is no fixed definition of “long”. The goal is a picture that shows time passing, whether that is smoother water or light trails. That means the length of the shutter matters less than what moves while it is open. A very long exposure of a scene where nothing moves looks the same as a short one, so motion is what makes the technique worth using.
One useful way to think about it is in categories, from slight blur to extreme. At the gentle end, parts of a subject are only slightly blurred, such as short trails of splashing water over a rock. In the middle, the subject is smeared but still recognizable. Further along, the subject blurs past easy recognition. At the far end, moving subjects disappear altogether and only stationary objects remain.
That last category is the one many people picture first. People vanish from street scenes, car lights become streaks with no visible vehicles, and moving water turns smooth and milky. Past that point, adding more time makes little or no difference, so there is no reason to keep the shutter open longer than the scene needs.
Why people disappear
Dark objects and people who keep moving are in any one spot for only a fraction of the total exposure. Over several minutes they fade out of the frame, which is what gives long exposures their quiet, slightly otherworldly look. Bright objects are different: they leave visible paths, which is why headlights and taillights draw lines while the cars themselves vanish.
What gear do you actually need?
The essentials are short. A sturdy tripod on firm ground comes first, because any movement during a long exposure shows up as blur. Next is a remote release or the camera’s two-second timer, so that pressing the shutter button does not shake the frame. Mirror lock-up helps on DSLRs, and image stabilization is best switched off when the camera is on a tripod.
- Tripod: rock-solid and set up on a stable surface.
- Remote or timer: removes the shake from your finger.
- ND filters: reduce the light so you can lengthen the shutter in brighter conditions.
ND filters come in different strengths, commonly from 3 stops up to 10 stops or more. Think of them as sunglasses for the lens. A weaker filter lets you stretch the shutter a little; a stronger one lets you turn a bright afternoon into a multi-second exposure.
Choose the strength by the effect you want and the light you have. If you only ever shoot at dusk, you may not need one. If you want smoothed motion at midday, a dense filter earns its place in the bag. An app or calculator takes the arithmetic out of working out the new shutter time.
How do you set aperture, ISO and shutter for daylight versus dusk?
Start with a normal, correctly exposed test shot and build from there. A sound approach is to shoot in manual or aperture priority, use a mid-range aperture and the lowest native ISO, and confirm that the test frame is sharp and well exposed before adding anything. Only then do you lengthen the shutter.
In daylight
Bright light is the problem, because the shutter has to stay short to avoid overexposure. Low ISO and a smaller aperture help a little, but the real tool is an ND filter. Work out the new shutter time from your test exposure and the filter strength, then shoot. Check the histogram rather than trusting the preview, and protect the highlights.
At dusk and at night
Low light does the work for you. Long exposures are easiest in dim conditions, and keeping ISO low preserves image quality. Raising ISO would let you shorten the exposure, but it costs dynamic range and adds noise. At dusk, then, leave ISO at base, open or close the aperture to suit your depth of field needs, and let the shutter run as long as the scene asks.
Keep your hands off the camera once the exposure begins, and watch wind, which can shake even a good tripod. If your longest timed shutter is not enough, the bulb setting with a remote lets you hold the shutter open for as long as you choose.
How do you keep focus and exposure under control?
A dense ND filter will stop autofocus from working, so compose and focus before the filter goes on. Once you are happy with the framing, switch to manual focus so the camera does not hunt, then fit the filter. Focus on a static edge, since that is where sharpness matters most.
On a DSLR, light can leak in through the viewfinder during a long exposure, so cover it. Then take a test frame, read the histogram, and look closely at the edges for blur. Adjust the shutter time, the filter or the camera angle and try again. Treat the first frame as a test rather than the picture.
This slow, repetitive loop of test, check and adjust is part of the appeal. It also suits a small town, where you can return to the same spot and refine the shot rather than rushing to the next one.
Where do you find long exposure compositions in an ordinary town?
Look for a fixed anchor and something that moves through the frame. A quiet street gives you both: the buildings and curbs stay put while cars, pedestrians and flags move. Brighter objects leave trails and darker ones tend to fade, so headlights and taillights are natural subjects once the light drops.
- The main street on a busy day: with a long enough shutter, moving people blur or disappear while the storefronts stay sharp.
- Fountains and still water: moving water softens into mist-like smoothness while stonework stays crisp.
For a street with steady foot traffic, a few seconds gives visible motion blur while keeping a trace of the people. Several minutes would remove most of them entirely. Decide which result you want before you set the shutter, because the two feel very different: one says busy, the other says empty and calm.
Avoid placing the tripod where it blocks a sidewalk or an entrance, and keep an eye on traffic when you set up near a road.
What is the difference between 1 second and 30 seconds on still water?
Varying the shutter speed changes how much of the water’s texture you keep. A shorter exposure preserves some of the turbulence, so you still see the pattern of ripples. A longer one smooths it out entirely. Comparing two exposures of the same scene is the quickest way to learn this.
One published comparison shows the contrast: at a few seconds there was far more detail in the water, while a much longer exposure produced smooth, milky water and elongated clouds. Both are long exposures, but they feel very different.
As a working guide, try a range of times on the same scene and compare the results on the back of the camera. Shorter times in the seconds range keep texture, and longer times of tens of seconds or minutes smooth it away. On a calm town pond or fountain basin, where the surface is already fairly still, the difference may be subtle. Moving water such as a fountain jet shows it more clearly.
Shoot a short sequence rather than a single frame, then choose later. Because the scene is easy to revisit, you can repeat the comparison on different evenings and see how light and wind change the result.
Frequently asked questions
Do you need an ND filter for long exposure photography?
Not always. In low light, such as dusk or night, the scene is dim enough that you can lengthen the shutter without one. In bright light you need an ND filter to cut the light, and stronger filters let you reach longer times.
How long should a long exposure be?
There is no fixed answer, because it depends on how fast the subject moves and how much blur you want. A few seconds shows clear motion, while several minutes tends to make moving people or dark objects disappear. Test different times on the same scene and compare.
Why is a long exposure blurry instead of smooth?
The usual causes are camera shake and wind. Use a sturdy tripod on firm ground, trigger the shutter with a remote or the two-second timer, and turn off image stabilization when on a tripod. Also focus on a static edge before fitting the filter.
Can you take long exposures without a tripod?
It is not recommended for anything beyond slight blur. Even small movements ruin sharpness during a long exposure, so a stable support is part of the technique. Setting the camera on a solid surface is a poor but sometimes workable backup.
Related reading
Sources
- How to take LONG EXPOSURE photos: A Guide For … (alanranger.com, accessed 2026-11-04)
- Long-exposure photography — Wikipédia (en.wikipedia.org, accessed 2026-11-04)
Photo: Long Exposure Photography (Smartphone Photography), by Apurv013, CC0 1.0 (Wikimedia, via Openverse)